(ESTIMATION TIME: 4 MINUTES)
In this article I’ll show you how you can quickly and easily trigger Microsoft Flow in your SharePoint list. I’ll cover following topics:
- Manually triggered Flow for selected item on list
- Automatically triggered Flow for created or updated item on list
Manually triggered Flow for selected item on list
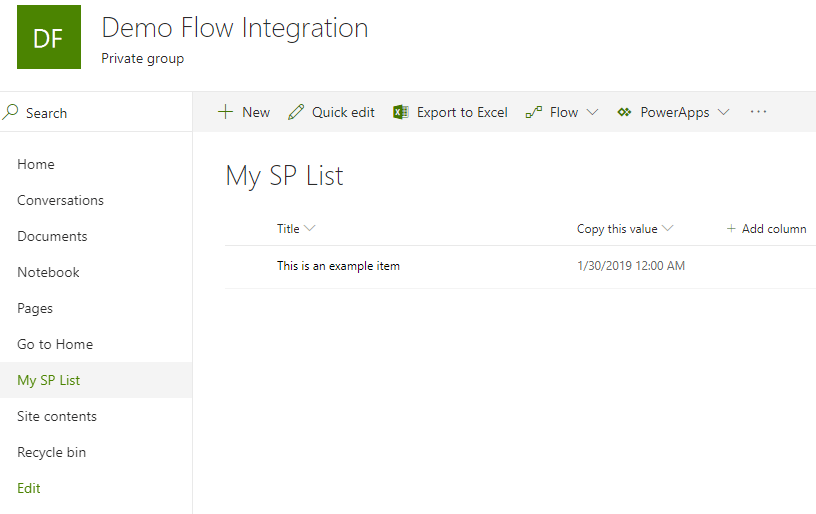
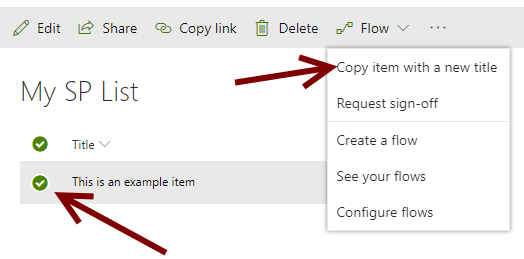
For this case I’ve created a simple custom list on my SharePoint site. The use case I want to cover is to copy selected item with a new title. My list looks like this:
I will walk you through the entire process but as you can see on this gif it takes a few seconds in total to complete the whole integration

HEY, I have launched 👉www.Developico.com👈
We have 20+ Power Platform consultants and architects.
Do you need help or competencies augmentation?
Let us know OR schedule a free consultation!

![]()


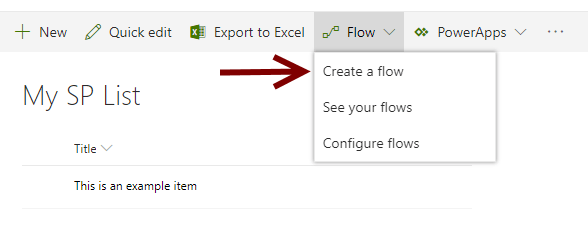
Then I click Flow > “Create a flow”
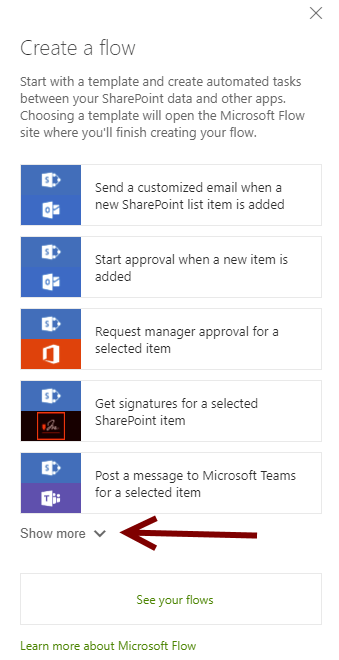
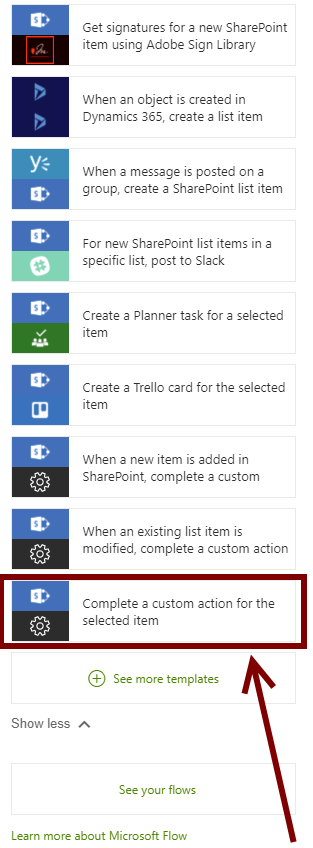
That will show a panel on the right side of the screen with multiple different ready-to-use examples of a flows for your site. I strongly recommend to play with them in a spare time. But since we want to build our custom one flow, let’s click “Show more” button and on the far bottom pick a template with the name “Complete a custom action for the selected item”
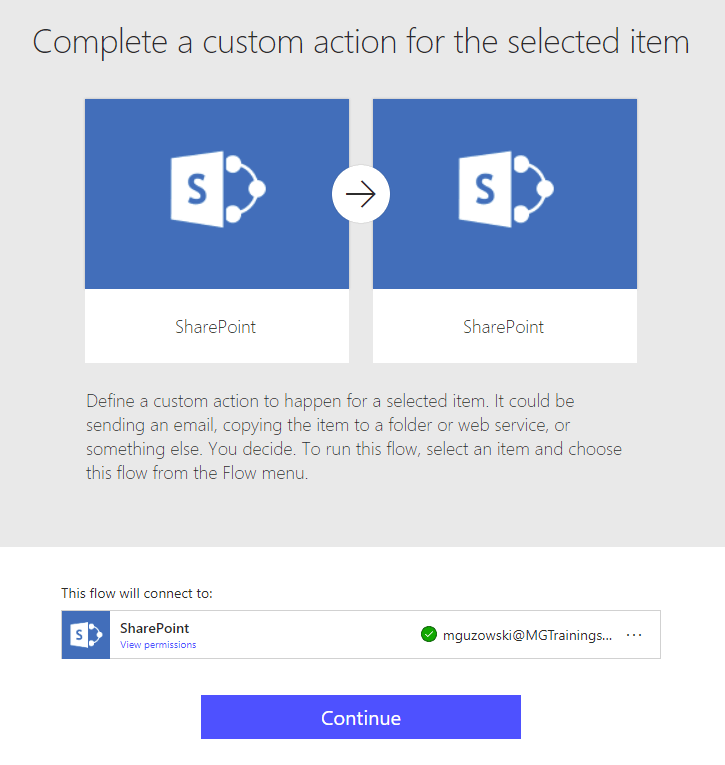
This will open new tab with an information page about the template and connectors it uses. Click “continue”.
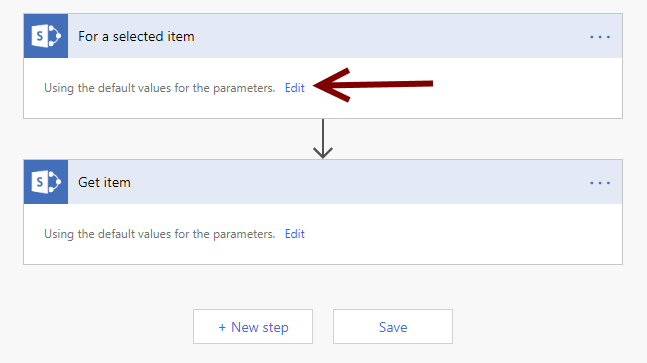
The flow is as simple as our list: a trigger (for a selected item) and an action (Get item). Click “Edit” to view more details about the action and then “+ Add an input”.

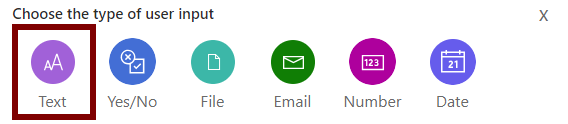
From here you can add multiple different input types (of course followed by specific field behavior and validation). For provisioning new item title we need “Text” field.
A new parameter row will appear under List name dropdown. Remember to change the name and description of the input field since those will be displayed to your user

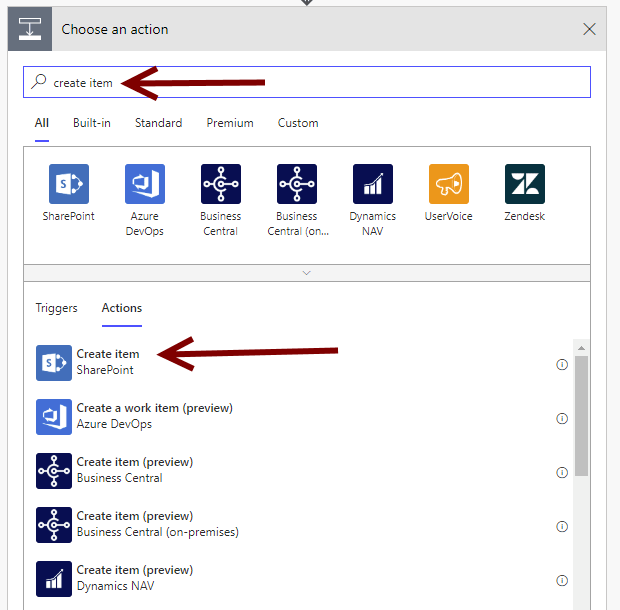
Great! Now let’s add a “Create item” SharePoint action. To do this you need to:

In the search box write “Create item” and pick item with “SharePoint” icon
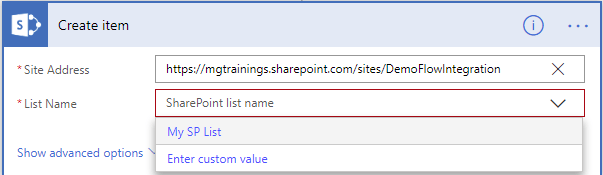
That shows a new action block. Fill the Site address and List Name. If dropdowns does not show the values you’re looking for click “Enter custom value” and then(!) provide the name manually

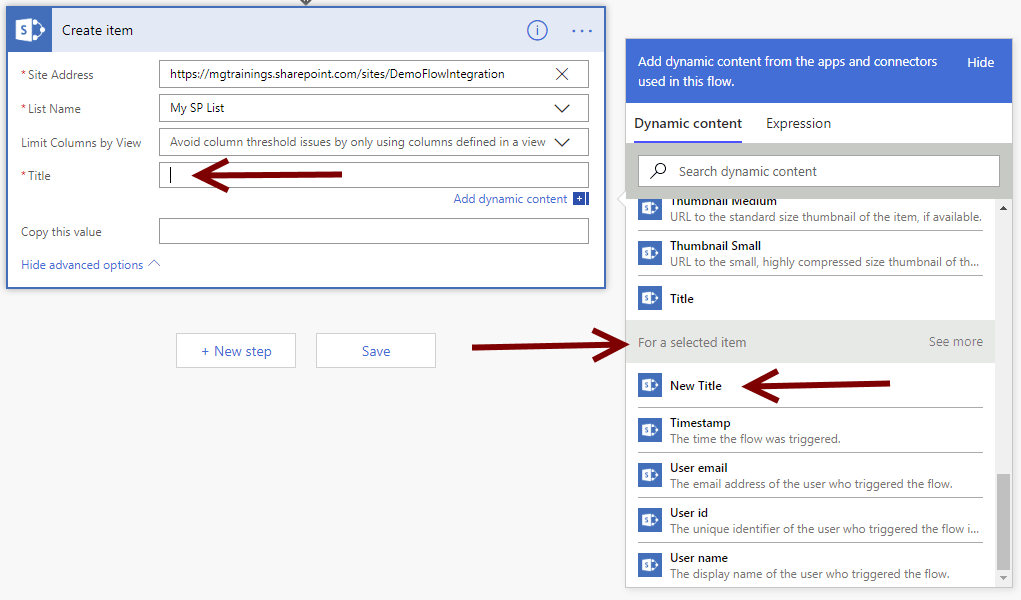
After selecting a list wait few seconds for the fields to load – that shouldn’t take too long since there is just one field.
Once your custom list fields will be loaded click on the Title field. On the right side scroll down to the “For a selected item” section (it’s the name of the trigger so if you changed its name it may be different) and select the field name we’ve added (“New Title” in my case)
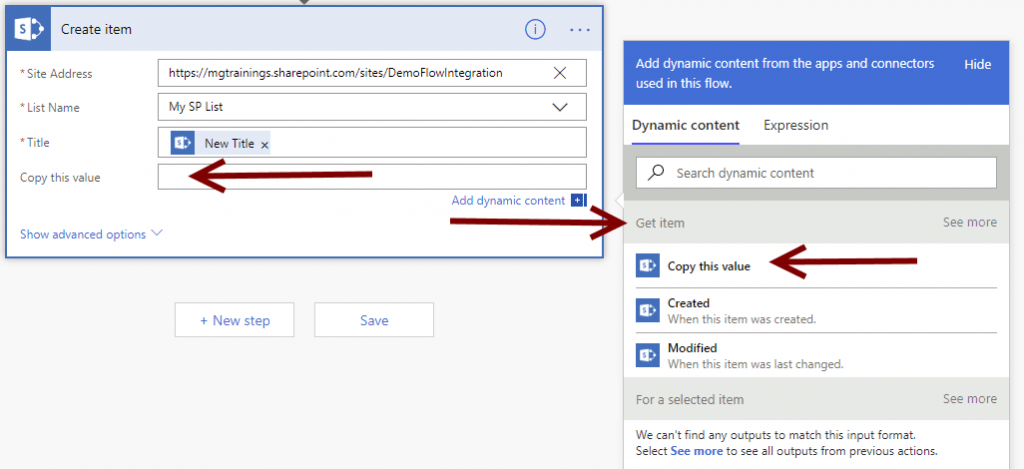
Now select “Copy this value” field, and in the right panel in the “Get item” section select “Copy this value” – this will get the value from the “Get item action” (which contains original item) and put it in the “Copy this value” field of your new item.
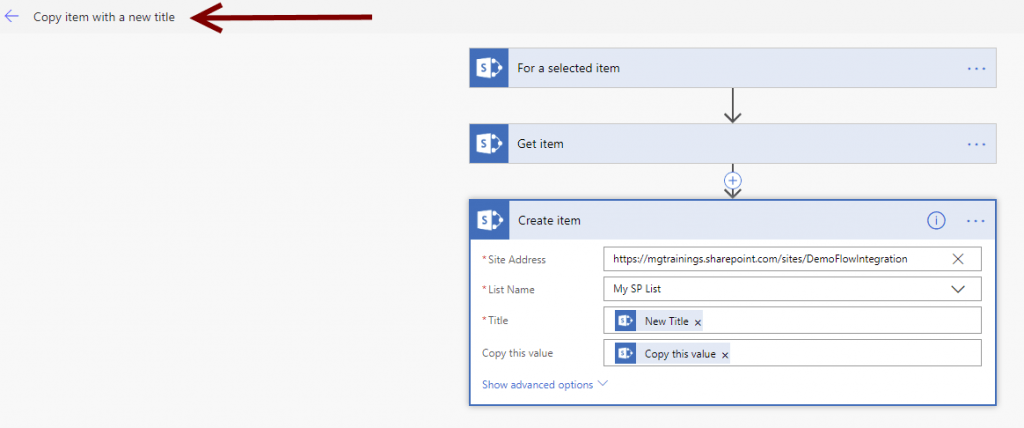
Last thing is to put a descriptive name of our flow. Click on its name in the top-left corner and change it.
Hit save and go back to your list. Now when you select your item (and only then) a new flow action will be displayed. TEST IT 🙂

Automatically triggered Flow for created or updated item on list
For this case we’ll send an email notification as soon as someone creates new item on this list. Of course this might not be very useful and such integration could quickly filled up our mailbox. But it’s simple to imagine some real examples like:
- Send a mobile notification if the field “accepted” has been set to true manually
- As soon as someone upload non-english document to the library translate it right away to english
- Send an email to supervisor if someone delete file from “Archive” library
- And so on…
Back to work! So first on your list view click Flow > Create new flow > “show more” (you know the drill from previous section) > select template “When a new item is added in SharePoint, complete a custom”

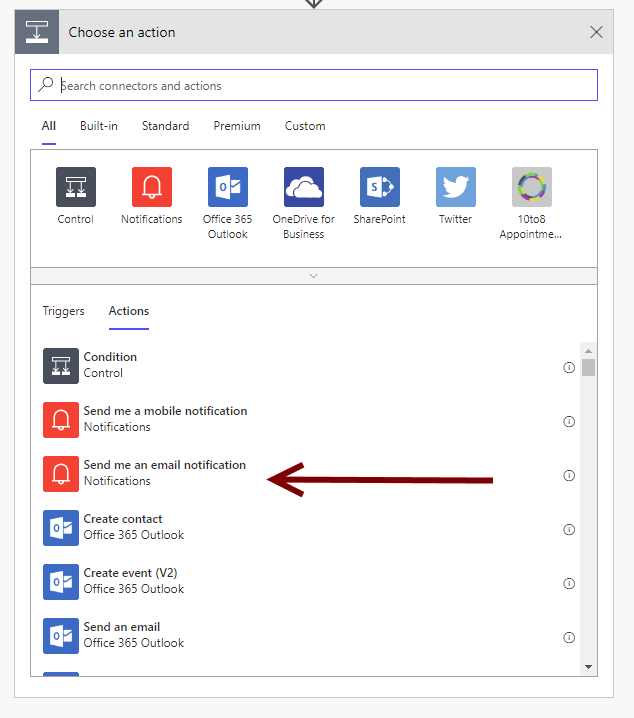
Add an action just like in the previous use case but this time pick “Send me an email notification” from the actions dropdown menu
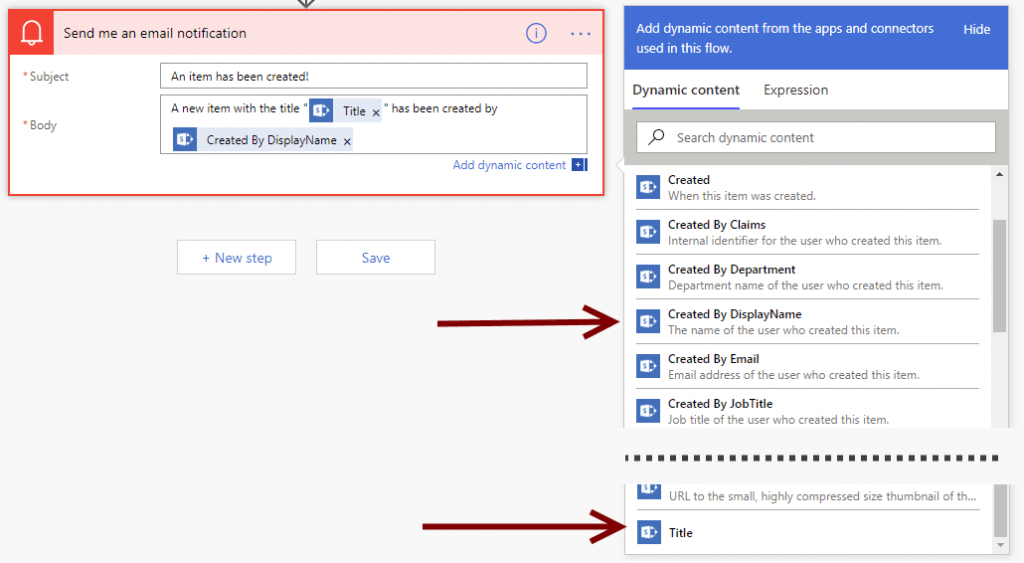
In the action fields put a proper subject message and body message. Please note that in the body field we mixed normal text (just write it) with fields from the item (pick them from the right panel)
Also this time remember about giving descriptive name to the flow title
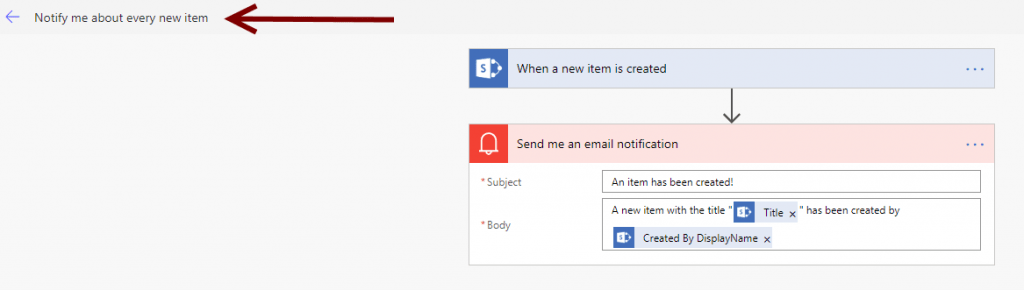
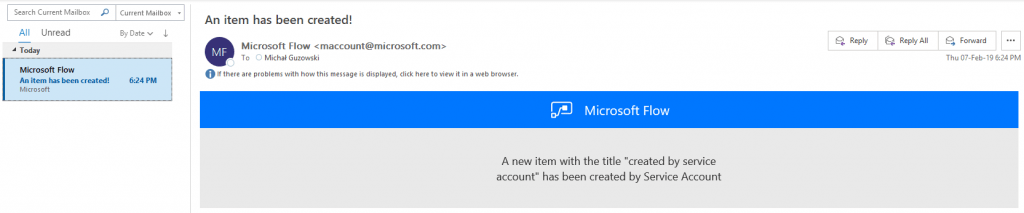
Now you can test it!
Please take a note that using notification will notify only creator of such flow. Like in the example screen: even though serviceaccount user has created an item only me (that is Michał Guzowski) got the email notification
Epilog
Remember that in SharePoint Online (or even SharePoint On-premise if you use data gateways) you can significantly extend functionalities of your site or list by integrating it with other ready-to-use services of your Office 365 tenant. There are multiple of them and each one can be configured without writing a line of code! Some of those are:
- Microsoft Flow
- PowerApps
- PowerBI
- Planner
If you’re not afraid of coding you can also take a look on these:
- Columns conditional formatting
- Site Scripts
- SPFx (SharePoint Framework) apps
- PnP Provisioning framework


Hello, The blog subject is exactly what I wanted to find. Unfortunately, your steps and screenshots are out-dated, so it is different from what I see on my SharePoint. Would you update the blog? Thank you.
Thanks for this. If you need to deploy a manually triggered flow to multiple sharepoint sites, we just released a product to do exactly this.
https://www.encodian.com/products/trigr/
And you can collect user input through configurable forms (e.g. a people picker to know who an approval request is sent to). We’re also working on Azure Directory based access controls to Flows within SharePoint.
Would love to hear what you think!
Hi Michal, thank you for posting this. I was able to go through the steps and create the flow. However, my list items have attachments and comments. I wonder if you would be able to help me transfer that information as well.
what was the list type you’ve created? Also have in mind that SP lists has attachments by default (you can turn it off though)
Hello There. I found your blog using msn. This is a really well written article.
I’ll make sure to bookmark it and come back to read more of your useful
information. Thanks for the post. I will certainly comeback.